


Gesture and Movement
- Christina Ann

- Mar 2
- 4 min read
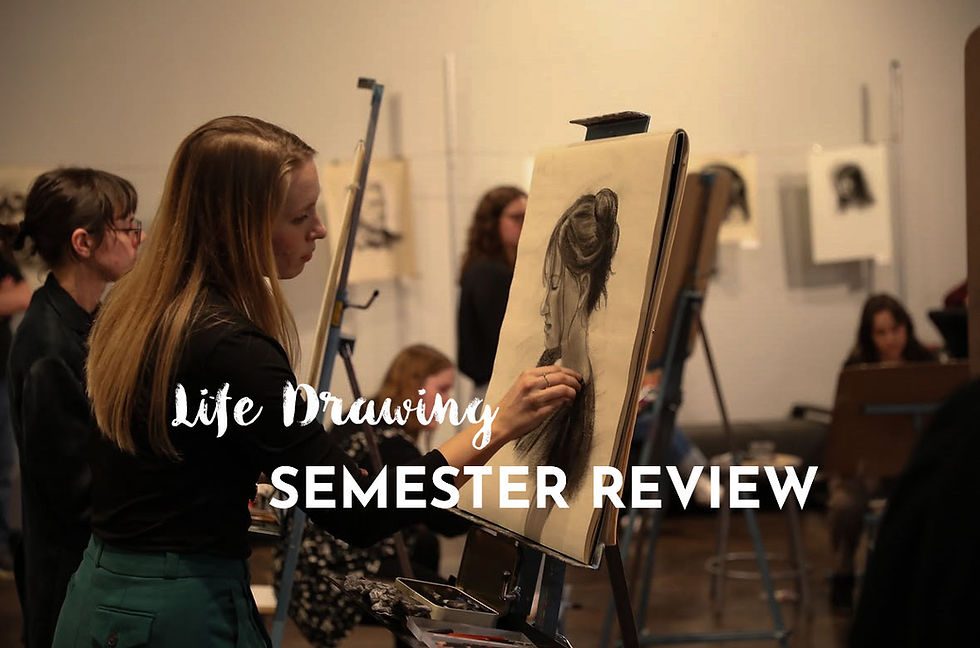
This week in my life drawing class was all about gesture and movement! During our class time, we all got to practice drawing each other in different gesture poses! It was SO FUN! I absolutely love being an art student, I’m not sure how to communicate in words just how full my heart is and how overjoyed I am to soak in all this amazing knowledge and practice with other artists.
Starting out our lesson we gathered around the professor as he gave 2 gesture drawing demonstrations while talking through the process and giving instructions. Fun fact, for one of the demonstrations I got up as the model and brilliantly decided to hold my hand over my head in my pose, which was more difficult than I realized lol. Holding a pose for 3-5 minutes is actually quite a fun challenge! Here’s the examples the professor did!!

These are some of the things we went over and helpful tips to keep in mind when working on gesture drawings:
Rapid Time Limits
Line of Action
Types of Lines & Drawing with your Arm
Basic Structures & Proportions
Creative Freedom
1. Rapid Time Limits
One key thing about gesture drawing is that you are forced to move quickly and decisively about your lines. This helps you to make instinctive choices and not to overthink too much about the details. It also keeps us from using erasers to fix mistakes, we are forced to accept them, move on and work from light lines to darker more confident ones. I think it's a great way to loosen up and get away from striving for perfect details! We worked in class in 3 minute increments, which was a fun speed to start with! In personal practice afterwards I found options on YouTube that started at 30 seconds a pose and eventually got longer, it's a lot of fun, give it a try!

2. Line of Action
One technique to help with starting gestures would be to look for the line of action in the model. This line of action is an invisible line we can find in our model’s pose that runs head to toe, showing us the main movement and energy we are representing, we can then build our sketch off of this captured movement.

3. Types of Lines & Drawing with your Arm
Concerning our lines, we want to create less short, exploratory lines and more overhand, intentional lines that capture the essence of the movement. Short little repetitive lines will make your drawing look busy and distracting. It’s good to keep your lines intentional and be able to break up the line lengths, letting yourself have some nice long lines that show one continuous movement rather than interrupted rhythms. This is accomplished much easier if you draw using your whole arm and not just your hand and wrist. Working with your arm gives you more access to those big swooping lines that will look more dynamic!

4. Basic Structures & Proportions
Gestures often are made without many details, and when we start our drawings it's good to make sure you are starting with simple foundations. Working from simple shapes and lines help to find the correct proportions of your model before moving forward into defining the shapes more clearly. Basic shapes are great to mark where the head, torso, and hips are, and then using simple lines to mark where your limbs go. As you place the basic outline it's always good to remember to pay attention to the plumb lines to see how the different shapes and forms are to be placed in relation to one another.

5. Creative Freedom
The nature of gesture drawing is defining and communicating the movement in a quick and dynamic way. Not to get too caught up in the details or stressed about getting it to be exactly as you see it. Being artists gives us the privilege to bring unique interpretations into what we create! Gesture drawing gives us a lot of freedom to exaggerate and emphasize the movement we see to better communicate the essence of the pose! So have fun!!

This was a great way to start off our week! Now that we are moving into drawing animals, which tend to move a lot, it is great that we have practiced capturing movement quickly through various gestures! Though, this week my animals did not move! For my practice I got the opportunity to go to a spot on campus that had a large collection of taxidermy animals.

This was such a good time, I don’t normally draw animals as much as people so it was neat to practice! One of the challenges I noticed while doing this homework was that the animals were still. Where initially I viewed that as helpful, I realized that it offered an easy pitfall of getting too focused on details and not enough on gestures. Some animal drawings I spent more time than what was intended for our animal drawings. As I kept going though I eventually got more used to a quicker pace and I had so much fun with it!

As I had to adapt my drawing process to be quicker and more simple, I found myself really enjoying the sheep, goats, and deer as my favorite models. I love the way their antlers and horns create such a unique visual interest in their composition! Out of my drawings I picked 5 favorites to add some detailed annotations about my experience and findings, enjoy!


I love the facial expressions that you can get across with simple lines, it really makes me smile. I can’t help but think my buck drawing looks like the face of a cow lol. Excited for more animal works to come! Have a blessed and creative week!
Jesus Bless You Abundantly,
Christina


Comments