


Portraiture Reflections
- Christina Ann

- Feb 2
- 3 min read
Updated: Feb 2
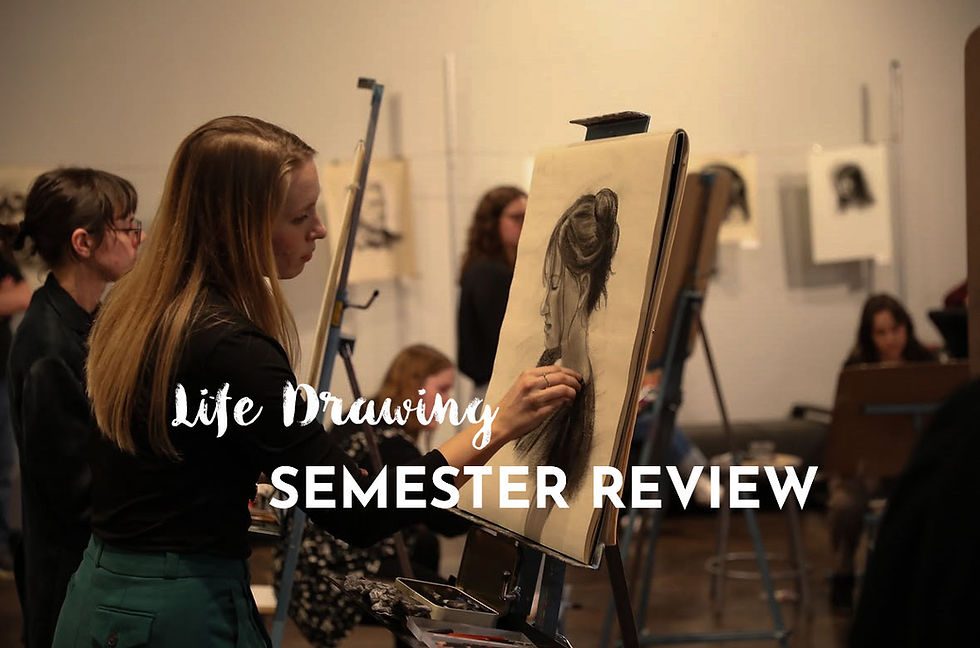
As part of my Graduate Life Drawing class, we are expected to be practicing what we learn in class in our own time. I have tremendously enjoyed this task. It is a great thing to study and learn, and I am blessed with a very sweet roommate who graciously agreed to be my model this past week!

In my previous blog I went over the structure of how the modeling normally goes, click below if you’re curious!
While in class, our professor poured into us a wealth of knowledge while we worked on our portraits. Part of that was pointing out the importance of an accurate sketch. Taking the time to really get our drawing correct is what will be the foundation of a well-made portrait! I noticed this a lot in my own practice through my sketchbook, where when I tried to go straight into the charcoal values, without having a robust drawing as the groundwork, my finished pieces would not look like the models. Another resource that I found very helpful was one of our textbooks, Portraits in Charcoal, by Nathan Fowkes.

Coming from someone who hasn’t used charcoal much, it is great to have a good art book that goes over concepts, materials, principles, and best practices! One thing that was helpful, and rather freeing, was when the author mentioned in his process that he used a Prismacolor orange pencil to make light lines where he would focus on the structural underdrawing until confident in the accuracy to then continue forward working over it in charcoal.
I am very comfortable and used to using drawing pencils, and colored pencils, so this to me was a fabulous addition to my portraiture process. Moving forward I have been focusing on getting my underdrawings to be accurate with helpful landmarks before starting the charcoal.
In my previous portraiture practice I would solely use drawing pencils. Charcoal has been a really fun expansion because of the wider range of values!

Another important note from my professor was to make sure you are using your plumb lines, which is where we use straight lines to provide guidance on how the parts of our drawing align with each other. This ensures that you get the correct proportions within the sketching phase. You want to make sure to focus on having best practices in place so you will form good artistic habits!
After the first session, I focus on locking in values. A fun tip from class, look through your eyelashes! Squinting helps us to lock in on the darkest darks and lightest lights. I have been doing this by drawing the shapes of the shadows I see and filling them in with the charcoal.

From here I continue to lay down the values and blend with a paper towel or tissue. After feeling satisfied with the values, I will move into focusing on details and refinements. I also make sure, at the beginning of the process to take a picture of my model and reference it during the detail phase along with my live model. Another helpful thing to remember as an artist is that while we are replicating, we are also interpreting. There’s always room to make creative adjustments and artistic decisions.

Final notes for my portraiture reflections so far are to actively look to do things differently, to watch out for your personal bias getting in the way of your accuracy, and to self-assess regularly, applying what you learn and experimenting with new approaches!
Have a blessed day and go get creative!
Jesus Bless You Abundantly,
Christina


Comments