


Practicing Portraits
- Christina Ann

- Feb 9
- 3 min read
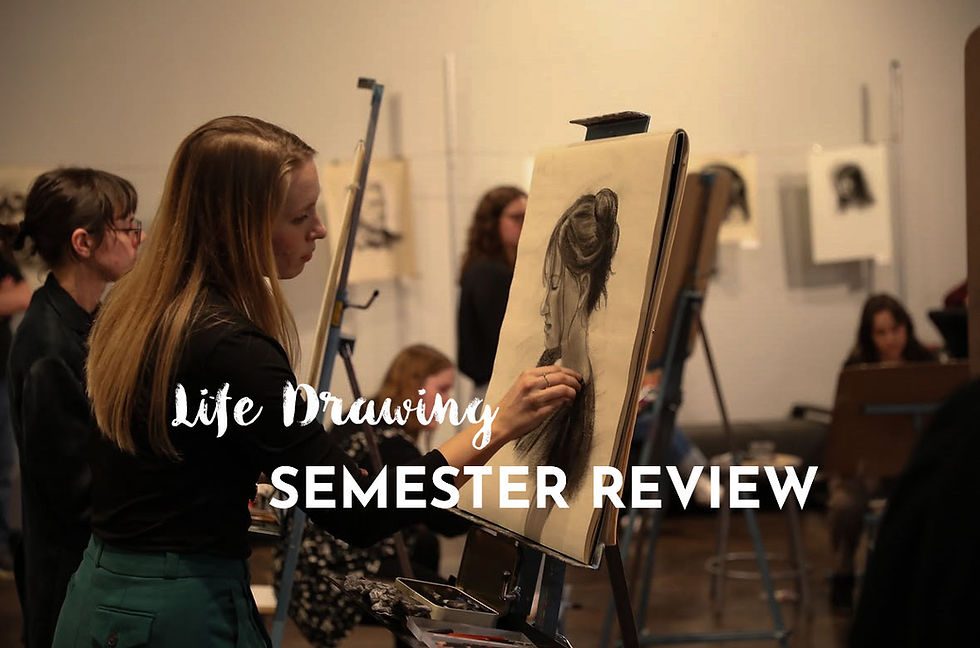
Another week of school has passed, and we are continuing to practice our charcoal portraits. During class, our amazing models came in and got set up. While setting up, it is important to position your light source in a good spot so that you will have the best advantage for capturing the portrait. A helpful note when adjusting the lighting is to remember to have some of the light appear on part of the shadow side of the face so that the face outline doesn’t get lost. This can be done by making sure some of your light hits the top of the eyebrow and cheekbone.

During the first 20 minutes session in class, we follow our plumb lines the best we can and focus on our accuracy. Our next sessions were focused on laying in the basic values then finishing up with the details. A helpful remark that we were told in class was that the majority of the accuracy is making the person look like a person with a correct anatomical structure while that last 10% of accuracy is what makes your portrait recognizable as the person you are drawing. The accuracy in recognizability comes with a lot of practice!


This week in my personal application and practice I was able to draw a sweet friend of mine! I positioned the lighting so I could clearly see the light side of her face while still having further lights hit the darker side of her face to have that definition from the background. While working on my sketch I did my best to make it accurate, but I do think I missed that last bit of accuracy that would make her recognizable. Even though it isn’t as accurate as I’d like, I’m still happy with where I’m at and I love to be able to track the progress! If you ever want to scrap your work, I encourage you to keep it and keep going! It’s great to look back years later and see where you’ve come from and how you’ve grown!

After the sketch I decided to try a new technique than I have been trying. I love the look of charcoal drawings that have those big expressive strokes, so I wanted to work my way closer to that. Instead of blocking in my values with the charcoal pencils like I previously did I chose to work with compressed charcoal. I used the side of my charcoal to lay in the values with bigger strokes where I could, then turned the charcoal off its side to mark in the smaller value blocks.

After I added in those first values I continued to use my compressed charcoal to layer darker values on top of the initial ones. I do like the look of the charcoal strokes, I’m excited to keep practicing with this and see where it goes!

In order to push my darker values in the details and get more controlled lines, I then switched to my charcoal pencil, specifically a 6B pencil. I wanted to try and keep this drawing a bit more loose and less detailed than my previous ones so I didn’t blend my values as much with the tissue. I wanted to leave some of the big charcoal strokes in the finished work, along with more visible textures from the paper and tools as an experiment to see the kind of style it would create.

I really enjoyed this week’s practice and class experience! I’m excited to keep trying new techniques and improve my charcoal skills little by little!
Have an awesome week and go get creative!!
Jesus Bless You Abundantly,
Christina


Comments